How to Change Font Size in Word? 3 Easy Methods
In this tutorial, you will learn how to change font size in Word to make your text appear larger or smaller according to your needs. Adjusting font size is an essential formatting tool that helps improve readability, highlight headings, or create a professional document layout.
Unlike zooming, which only changes the view on your screen, changing font size actually alters the appearance of the text in both digital and printed versions of your document. By mastering this feature, you can create documents that are clear, well-structured, and visually appealing.

How to Change Font Size in Word?
Word allows you to increase or decrease text size using the below methods, keyboard shortcuts, or the mini toolbar that appears when you select text. You can choose from preset sizes or enter a custom value for more precision.
Method 1:
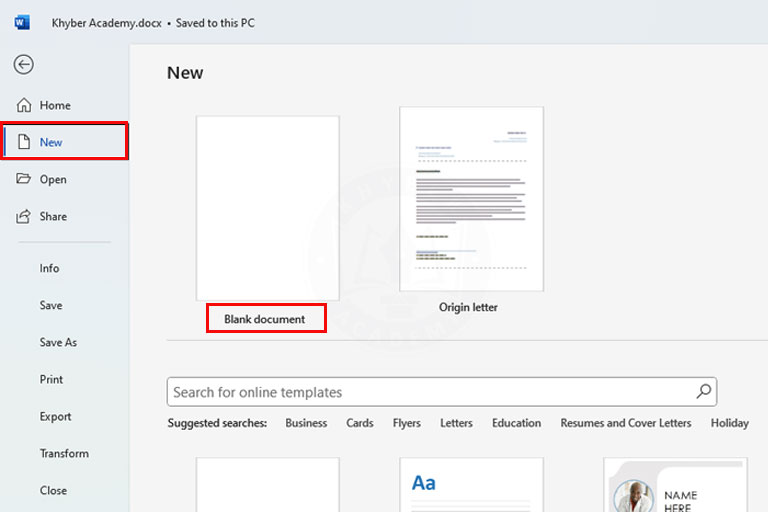
Step 1: Open Your Word Document
Launch Microsoft Word and open the file where you want to change the font size.
Step 2: Select the Text
Using your mouse to select the text whose size you want to change or by holding Shift + Arrow Keys.
Step 3: Change Font Size from the Ribbon
- Go to the Home tab.
- In the Font group, locate the Font Size box.
- Click the drop-down arrow and select a size (e.g., 11, 12, 16, etc.), OR type a custom size (e.g., 30) and press Enter.
Method 2: Use Increase/Decrease Font Size Buttons
- In the Home → Font group, click the Increase Font Size (A↑) or Decrease Font Size (A↓) button to adjust gradually. See in the above screenshot.
Method 3: Use Keyboard Shortcuts (A Quick Way)
- Press Ctrl + Shift + > to increase font size.
- Press Ctrl + Shift + < to decrease font size.
How to Change the Font Size of the Entire Document?
If you want to change the font size of the entire document, press Ctrl + A to select all text, then choose your desired font size.


